
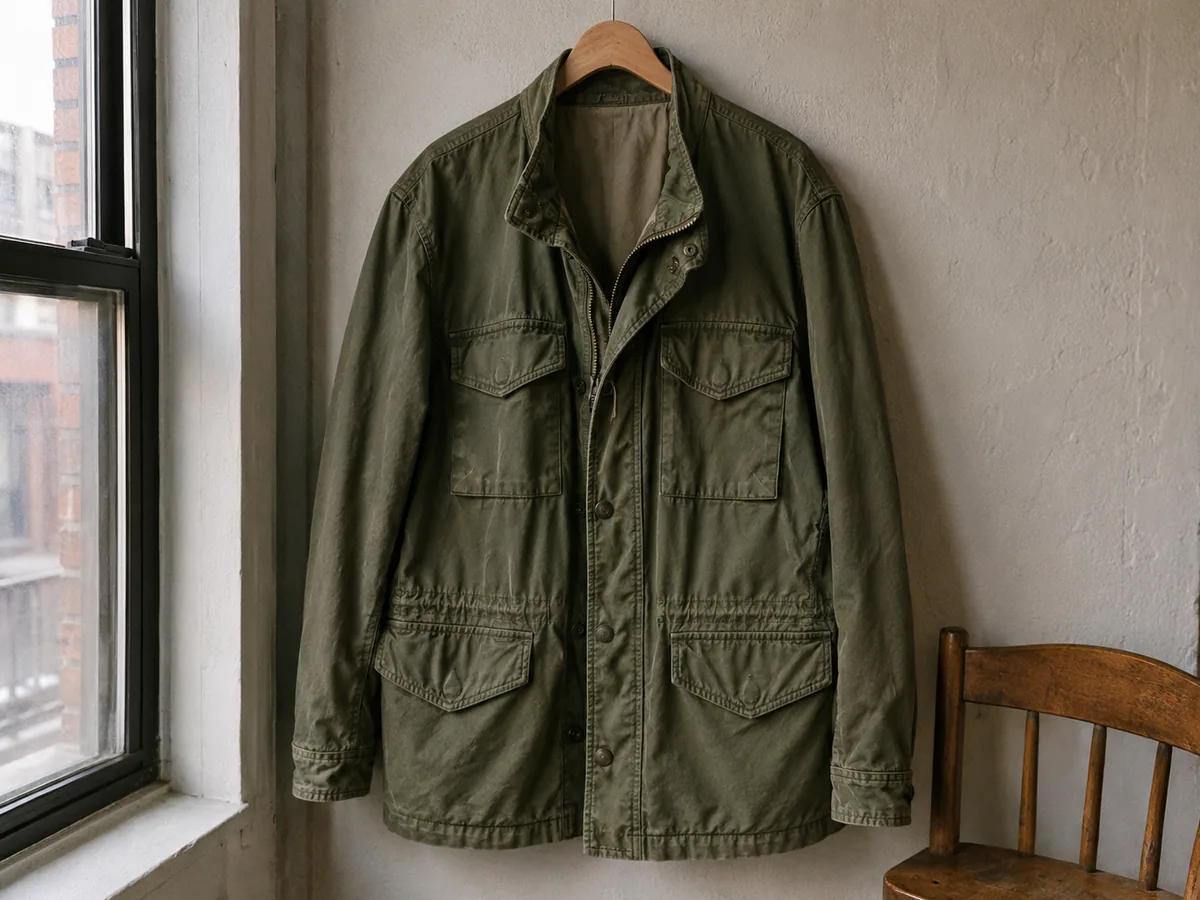
 Illustrative preview
NBPrecision
Nano Banana Pro
Choose it when the edit depends on detailed instructions, readable text, or a higher-resolution result.
Precise editsText4K
10 / 18 credits
Edit an existing image with a text prompt
Upload an image, choose what you want to change, and describe the result in ordinary language. This online AI image editor can replace clothes and backgrounds, recolor objects, update short text, restyle a scene, or handle another focused edit while you tell it what to preserve.
Upload your image and describe what to change
Start from your task
Pick the closest task before you worry about prompts or models. Each link opens a focused AI image changer with controls, examples, and guidance for that job; Custom Edit returns to the flexible prompt workspace.
Each Before / After preview shows the specific edit that the tool is designed to make, so you can choose the closest starting point. Results vary with the source image, instructions, and model.
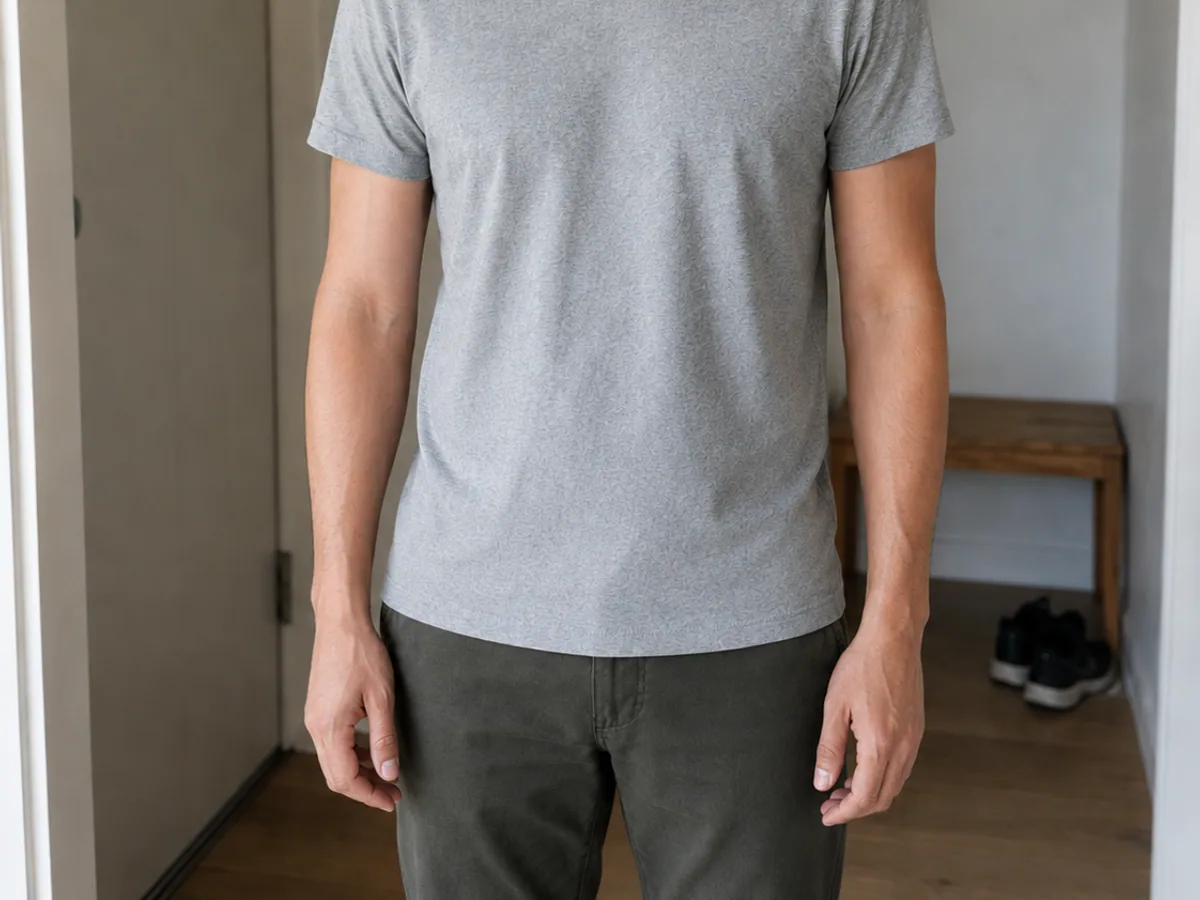
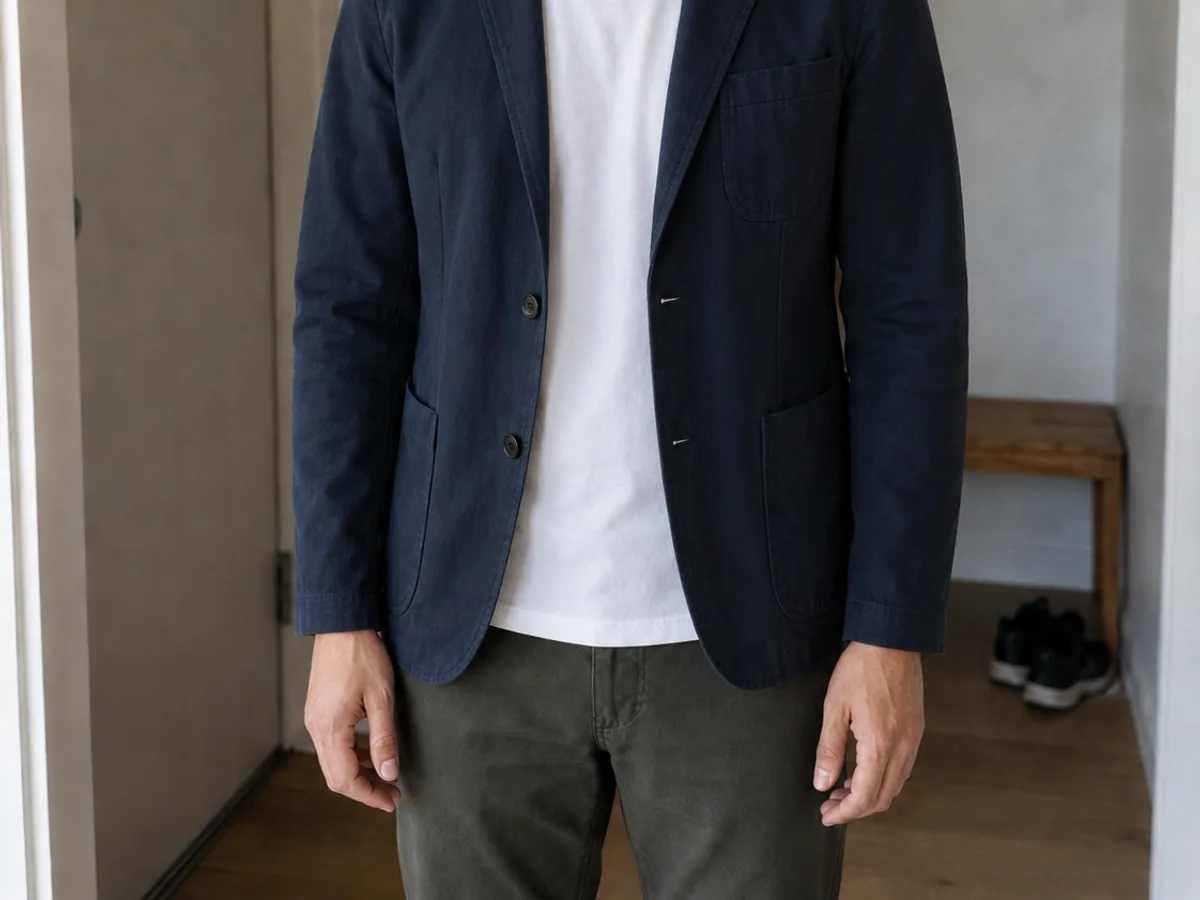
Clothes
Swap an outfit while protecting the face, pose, and hands.
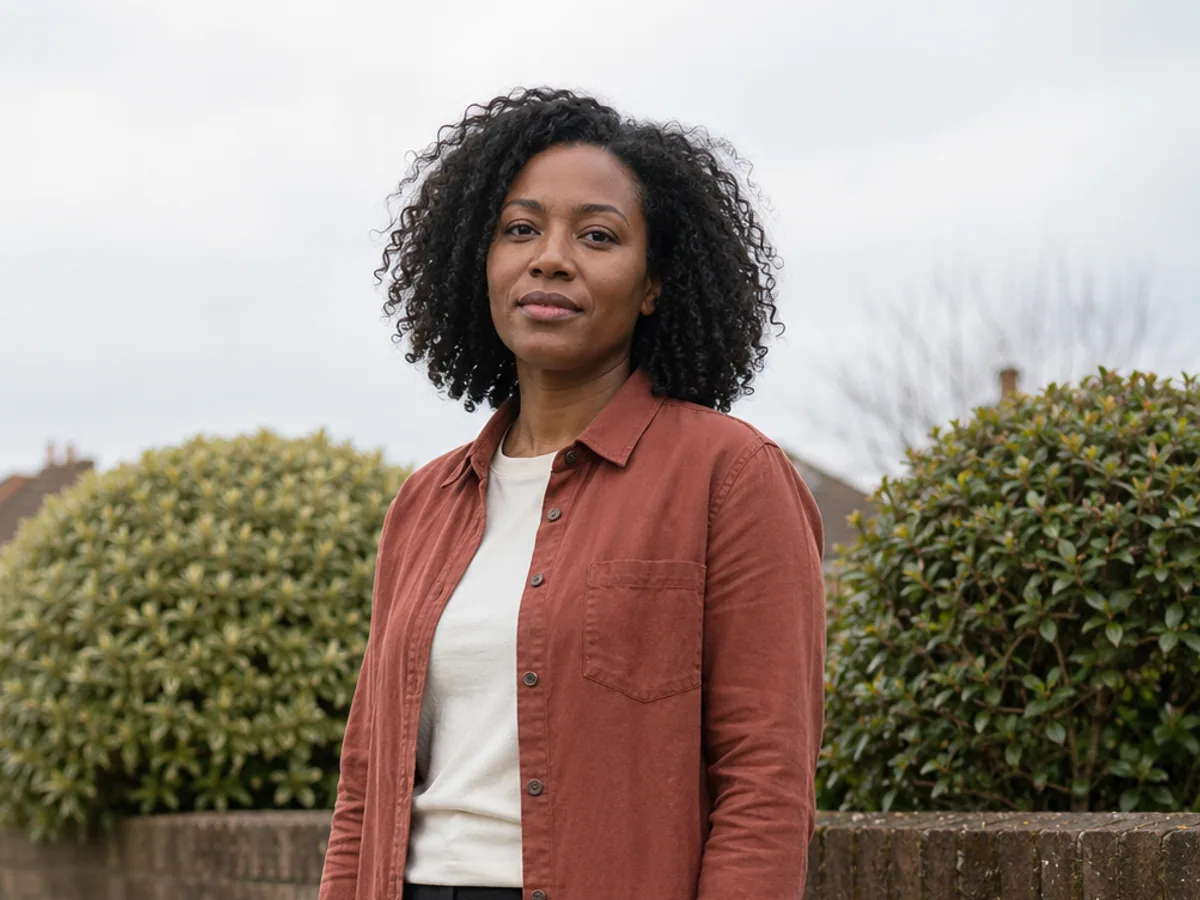
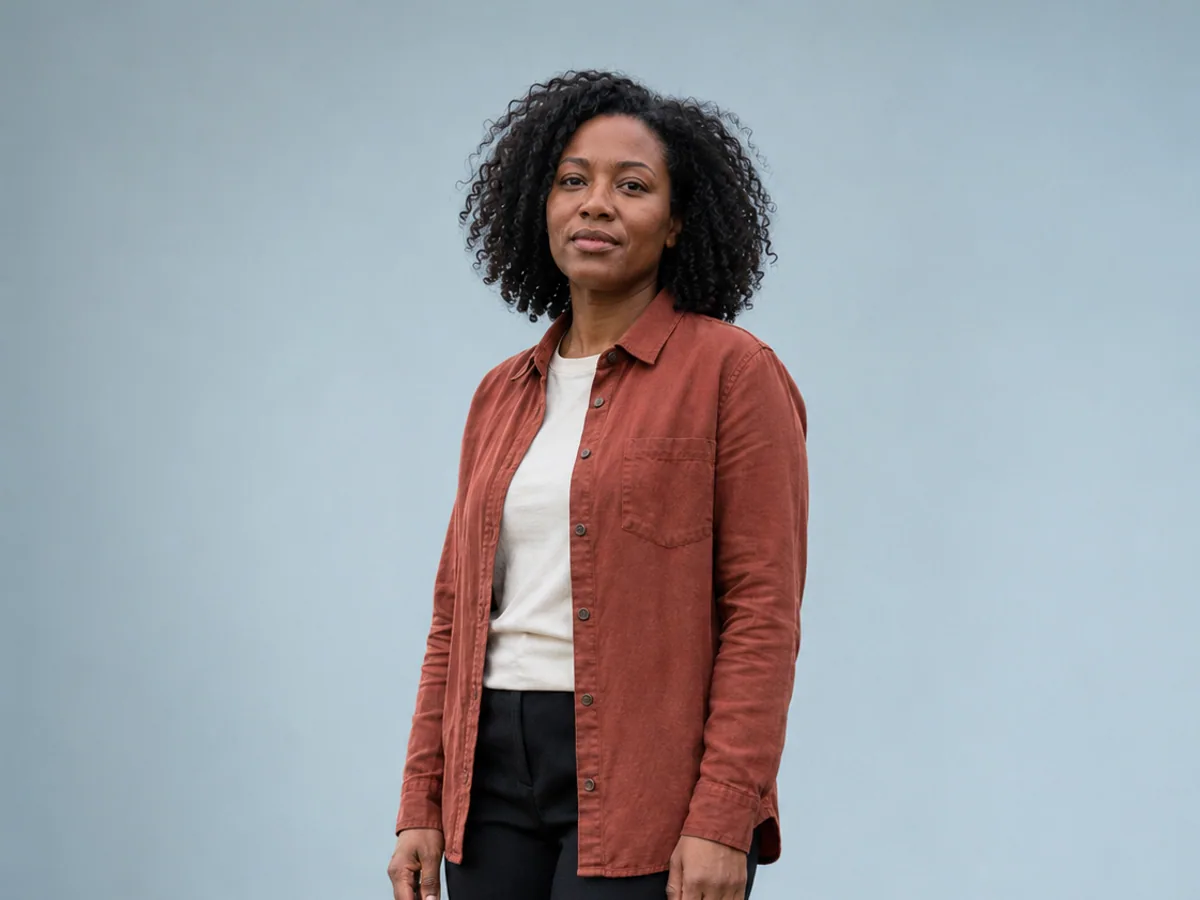
Background
Move a person or product into a cleaner, believable scene.
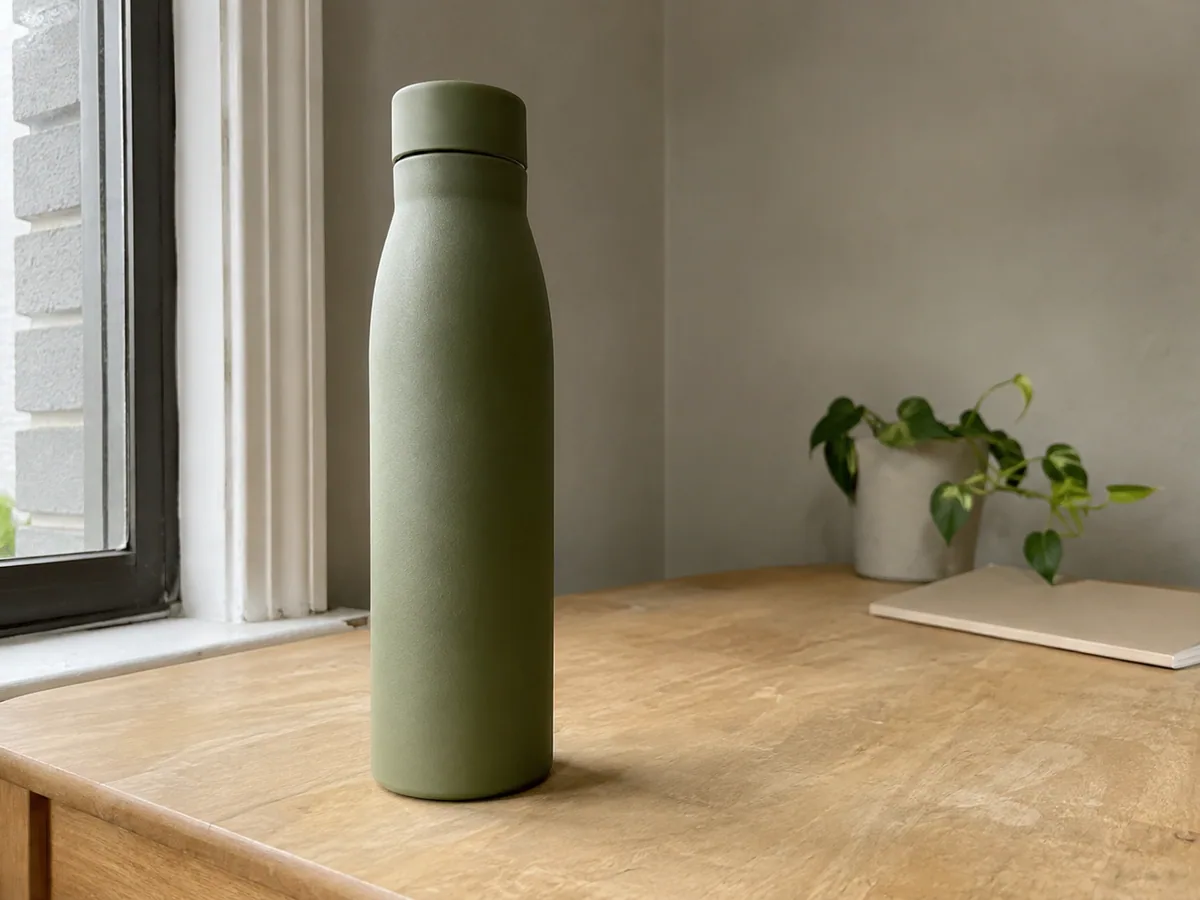
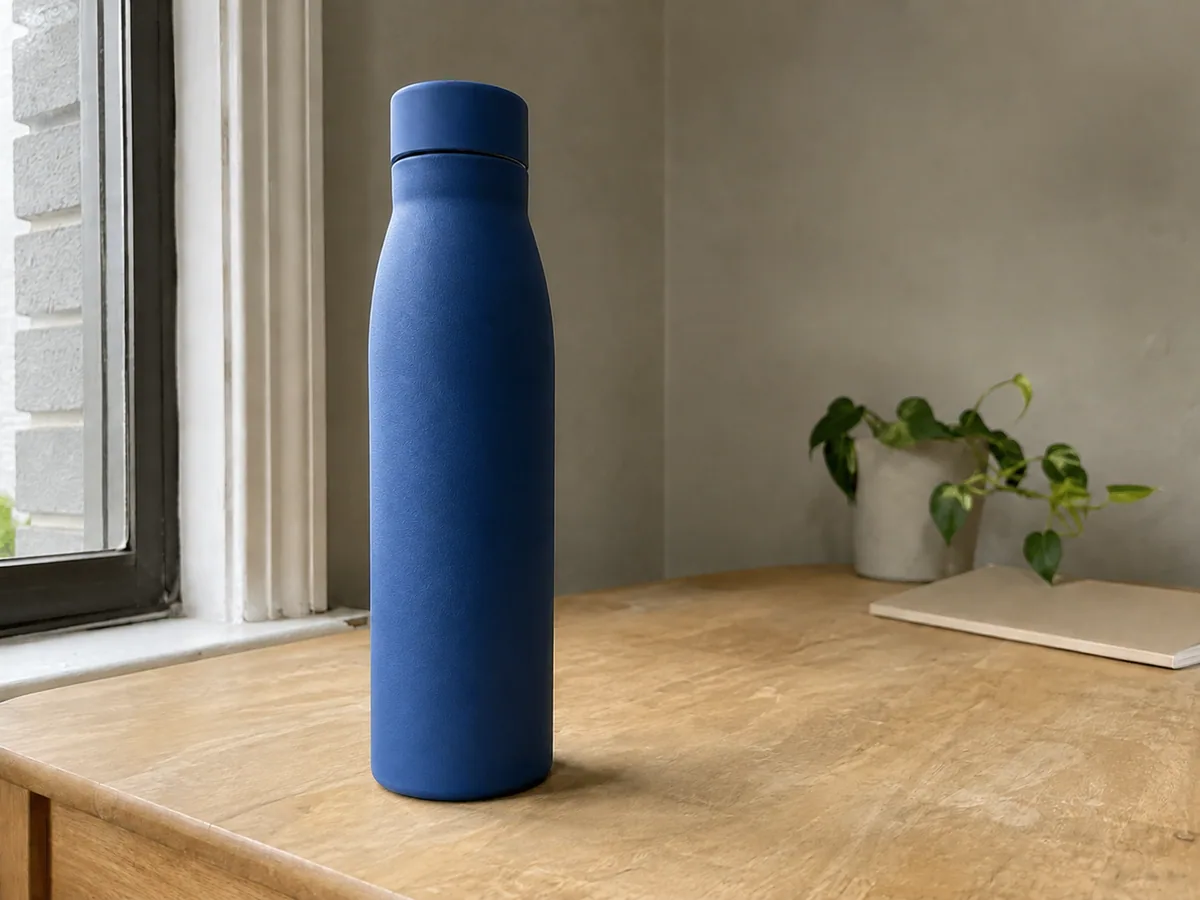
Color
Recolor one object without flattening its material or light.
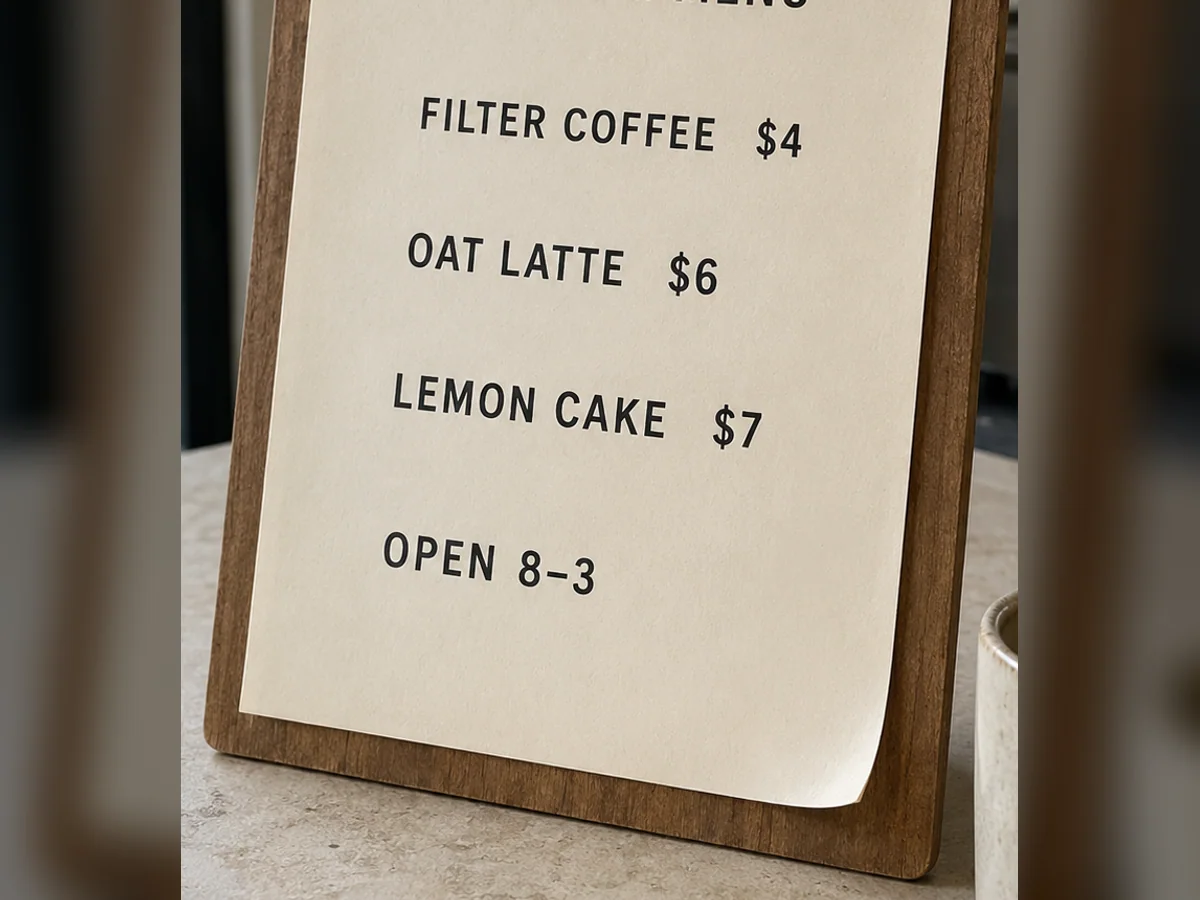
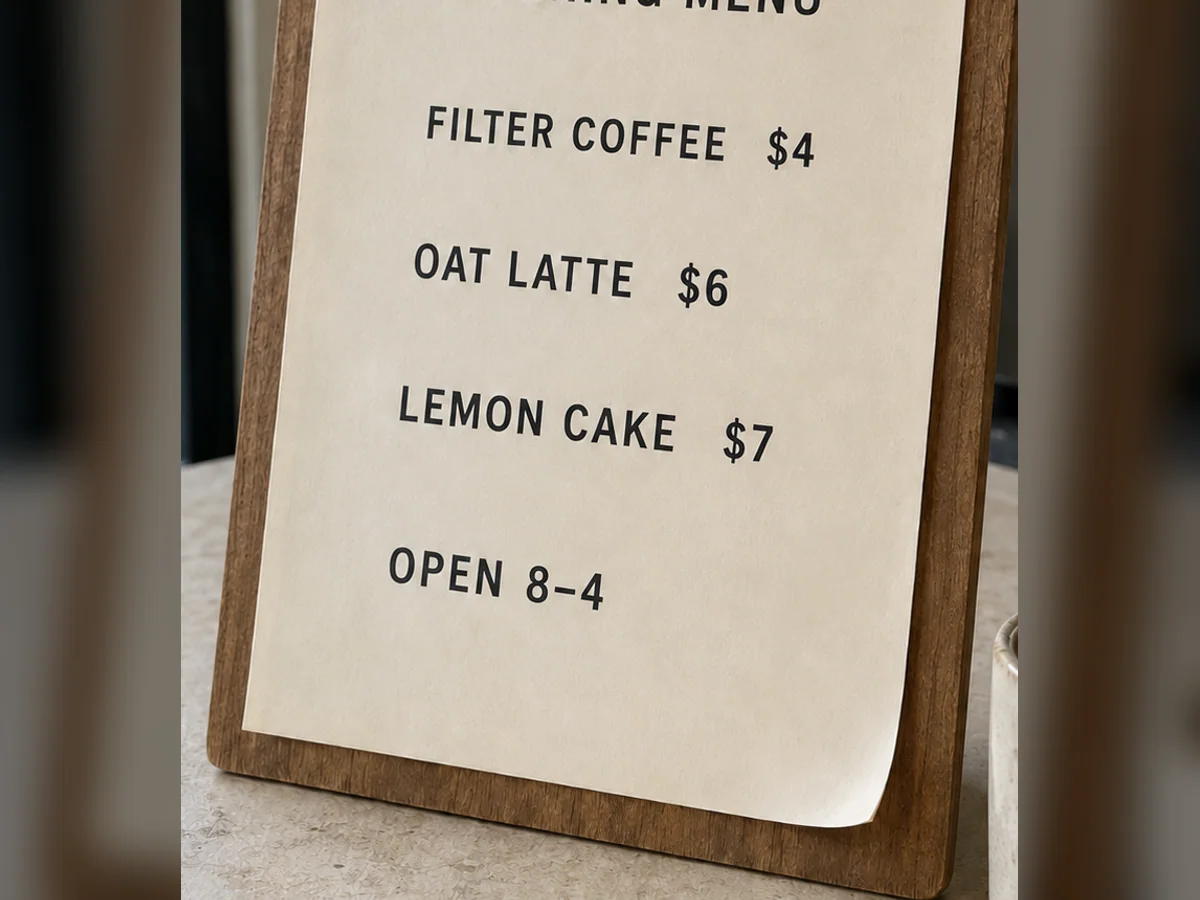
Text
Replace a headline, price, date, name, or short label.
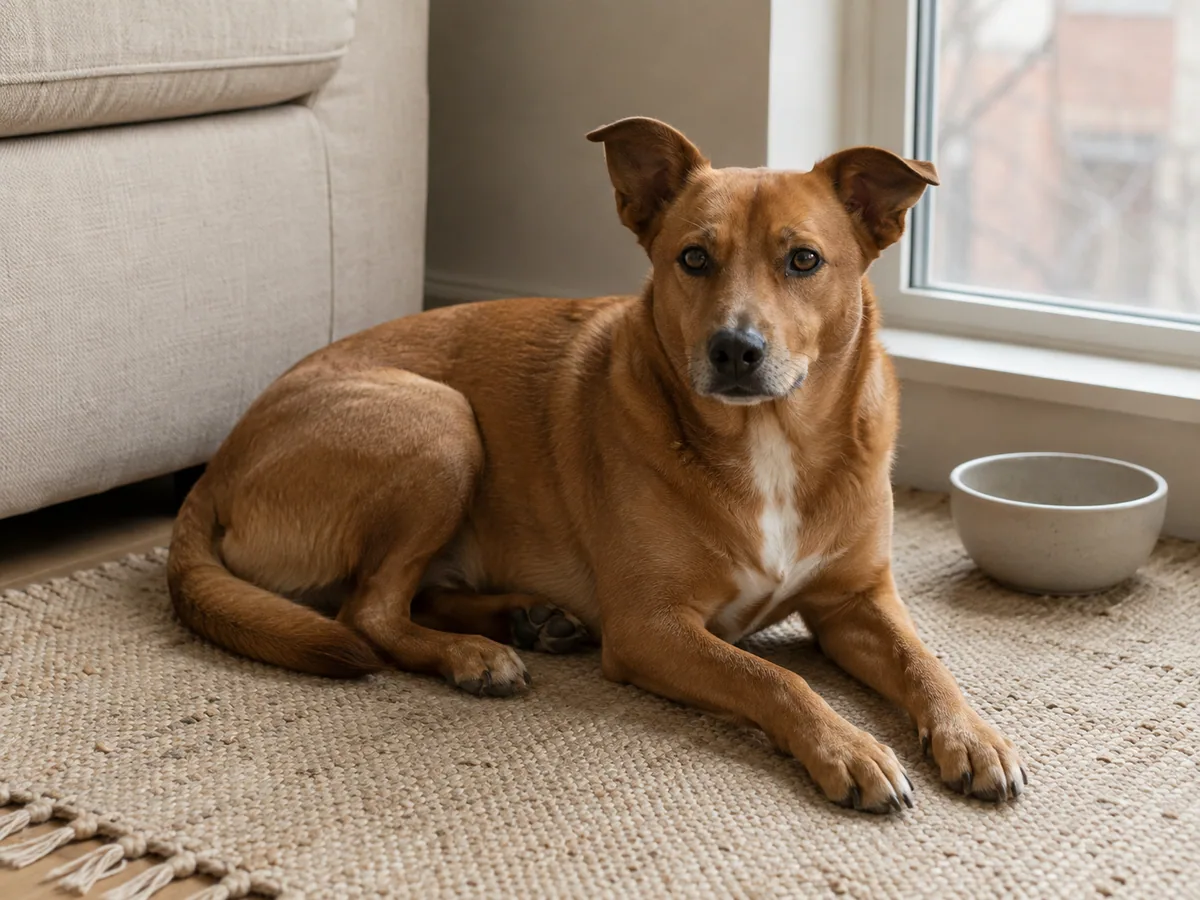
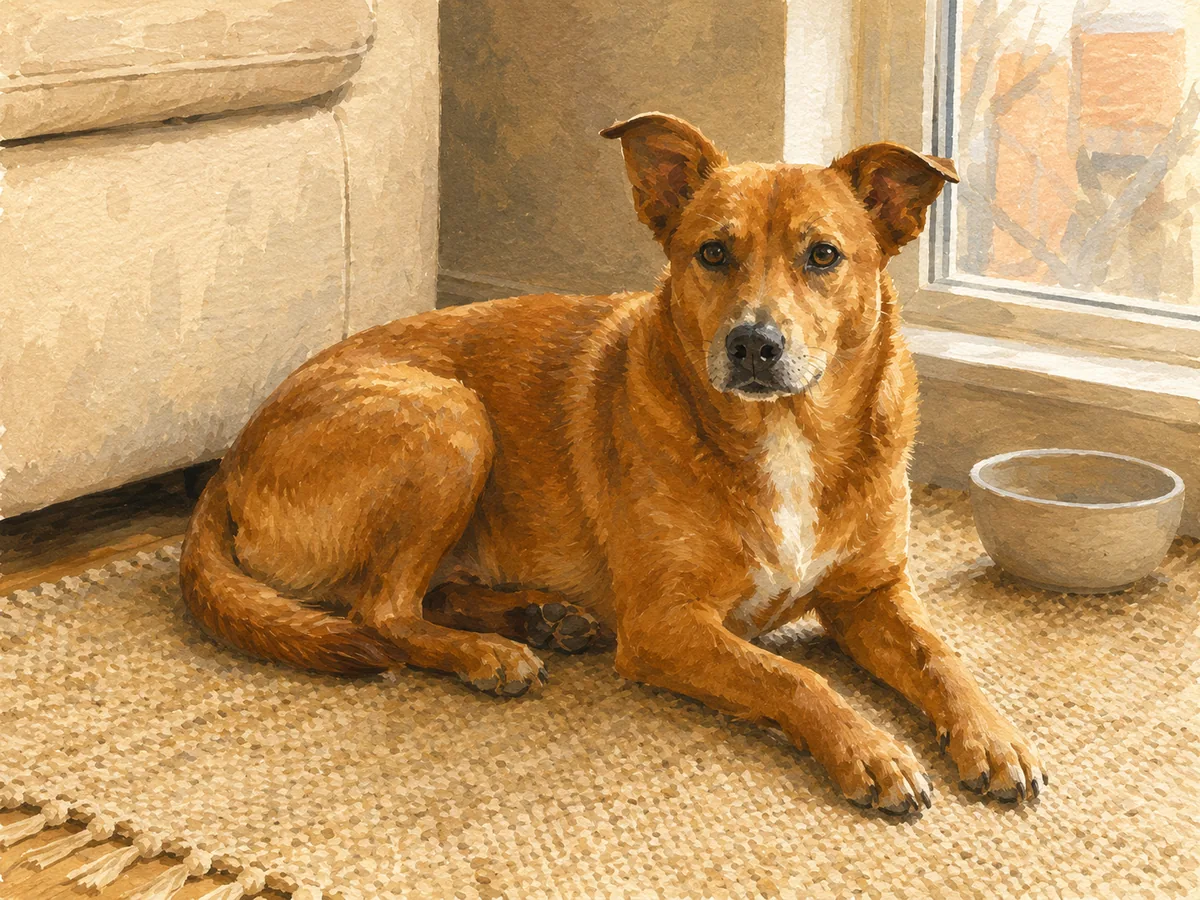
Style
Give an existing image a new visual treatment and mood.
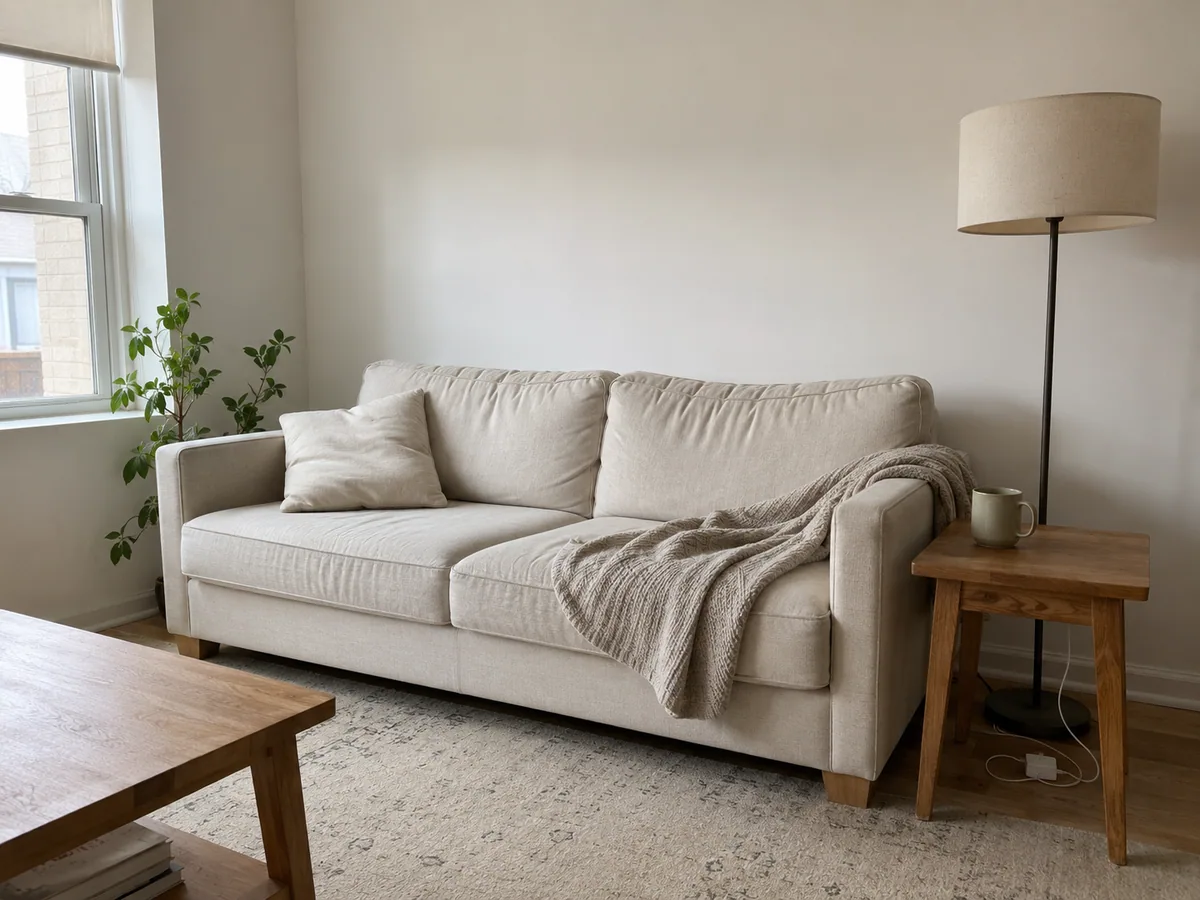
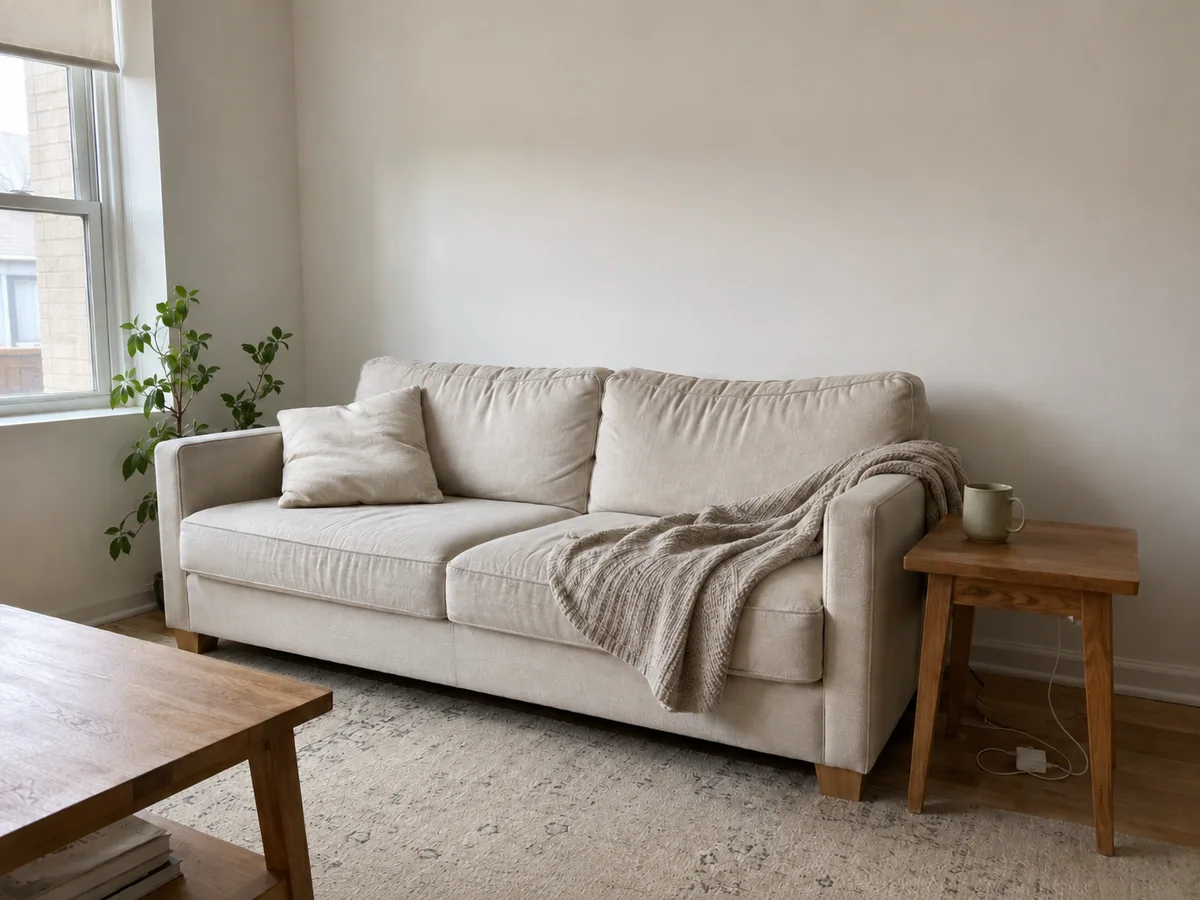
Other
Describe a focused edit when no preset fits the job.
A second way in
You do not need to choose a model before you understand the task. Use this route when precision, text rendering, multi-reference work, speed, or visual detail matters. Each preview highlights a useful model direction; selecting a card loads that model and its available settings in the editor.
Illustrative previewChoose it when the edit depends on detailed instructions, readable text, or a higher-resolution result.
10 / 18 credits
 Illustrative preview
A practical option for testing several prompt directions before committing to a final high-detail edit.
5 / 10 / 15 credits
 Illustrative preview
Useful for natural-language instructions that combine a specific change with careful creative direction.
8 / 12 / 18 credits
 Illustrative preview
Built for multi-reference compositions, design-led edits, and tasks that need more visual structure.
12 / 18 credits
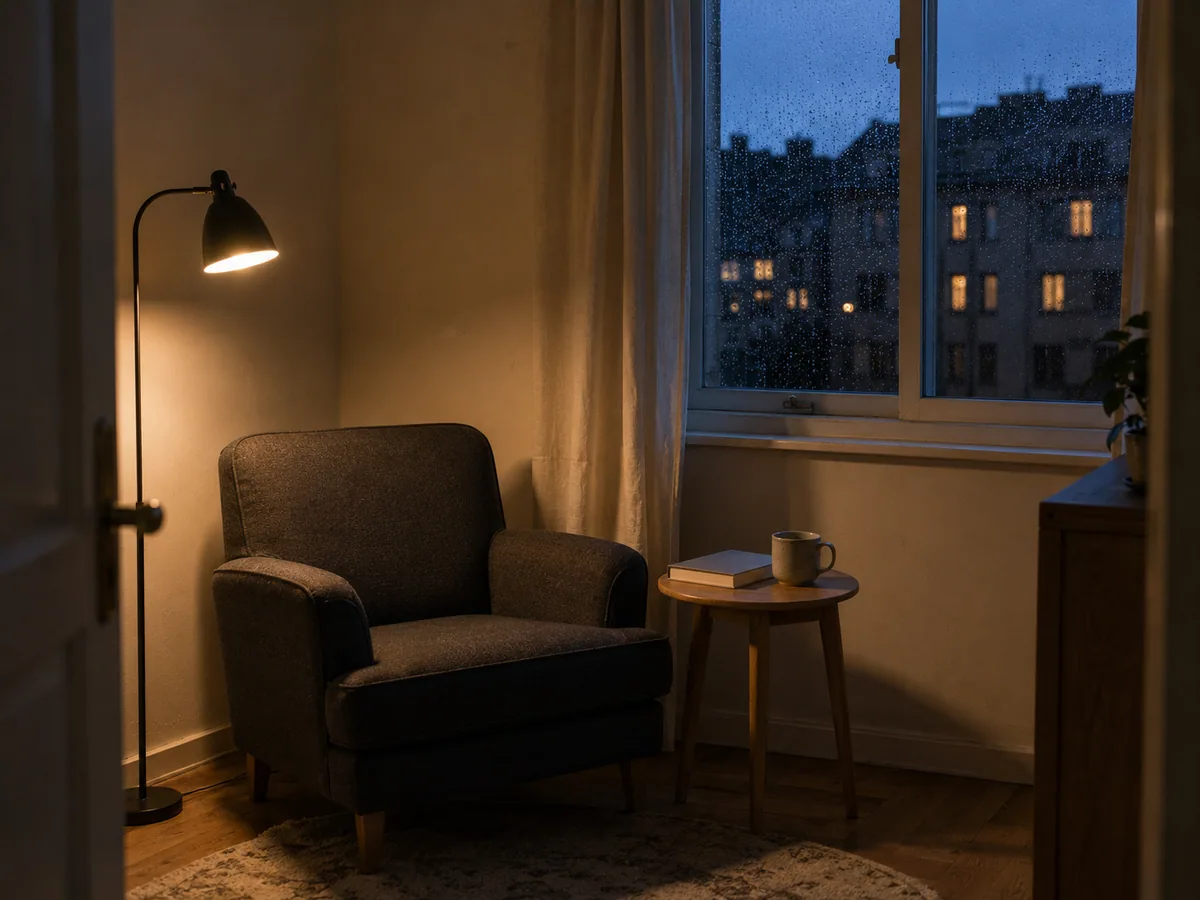 Illustrative preview
A focused choice for detailed lighting, stable compositions, and polished visual treatments.
6 credits
AI clothes changer
Swap a shirt, jacket, or dress without rebuilding the entire portrait. Start with a photo that clearly shows the outfit, then describe the replacement or add a clothing reference. Tell the editor to keep the face, pose, hands, hair, and background when those details matter. Check sleeves, arm overlap, fabric edges, and accessories before you download the result.
Best input: a well-lit portrait with visible shoulders, arms, and clothing boundaries.
Prompt example: Replace the white shirt with a dark blue tailored jacket. Keep the face, hands, pose, lighting, and background unchanged.
AI background changer
Place the subject in a clean studio, a real room, or an outdoor location without cutting every edge by hand. Describe the setting, light direction, and surface beneath the subject so the new scene feels connected. Fine hair, transparent objects, reflections, and contact shadows deserve a close review, especially when the original background is crowded.
Best input: a clear subject with enough contrast around hair, clothing, or product edges.
Prompt example: Replace the room with a restrained blue photo studio. Keep the person, outfit, pose, proportions, and facial details unchanged.
AI image color changer
Recolor one garment, product, wall, or object while keeping its material visible. Name the target and the new color; include a Hex value when you need a more exact direction. Review seams, logos, highlights, reflections, shadows, and nearby objects to confirm the AI image modifier did not flatten the texture or tint the rest of the picture.
Best input: a clearly defined object whose current color is not shared by the entire scene.
Prompt example: Change only the mug to cobalt blue. Preserve its ceramic texture, reflections, shadow, table, and every other object.
Edit text in image
Correct a headline, price, date, name, or short label inside a finished design. Enter the exact words to replace, provide the new wording, and identify the location when the image contains several text blocks. Clear, high-resolution letters are easier to match. Inspect spelling, spacing, line breaks, alignment, and all neighboring copy after generation.
Best input: large, readable lettering with a clear background around the target text.
Prompt example: Replace only “OPEN 8–3” with “OPEN 8–4”. Match the existing type, spacing, color, and position. Do not change other text.
AI image style changer
Give an existing photo a cinematic, illustrated, editorial, watercolor, anime, or polished 3D treatment while keeping the main composition recognizable. Start with a concrete style description or one reference image. Then name the face, silhouette, camera angle, objects, and layout that should survive the transformation instead of judging the result by color alone.
Best input: a clear subject and composition with a short list of details that must remain recognizable.
Prompt example: Turn this interior into a warm editorial illustration. Preserve the furniture layout, camera angle, window position, and room proportions.
Custom AI image modifier
Use Custom Edit when the job does not fit a single preset. You can remove an object, add a prop, clean a room, change the weather, adjust the lighting, or combine several reference images. Keep the request reviewable: state the target first, describe the new result, and list the important parts that should remain untouched.
Best input: one main task at a time. Complex scenes are easier to refine through several focused passes.
Prompt example: Remove the drying rack and loose clothes. Rebuild the wall and floor naturally. Keep the furniture, window light, and camera angle unchanged.
Four reviewable steps
A good AI image editor with prompt input should make the task clear before generation. Use this sequence to reduce accidental changes and make each result easier to compare.
Choose a JPG, PNG, or WebP portrait, product photo, illustration, or design. A clear source gives the editor more reliable boundaries to work with.
Start with Clothes, Background, Color, Text, Style, or Custom Edit. Pick a specific model only when the job needs a particular strength.
Name the target, the result you want, and the details to protect. One focused instruction is easier to check and refine than several unrelated requests.
Review both the requested change and the untouched areas. Adjust one instruction at a time, then download the version that best preserves what matters.
Product reasons, not slogans
The workspace is designed around controlled changes to an existing image. It shows the available task, model, reference, and credit choices before you generate, while leaving the final review with you.
Start from the result you need instead of choosing from a wall of technical controls. Focused tools carry the right prompt structure into the editor.
Use one source for a precise edit, or add references when clothing, style, composition, or another visual direction needs to be demonstrated.
Compare model strengths without rebuilding the task from scratch. Credit cost, supported resolution, and available controls stay visible before generation.
You choose what to upload and remain responsible for having permission to use it. The product does not claim ownership of your source image or result.
Specific edits to try next
These cards turn broad tools into recognizable jobs. Each idea opens the closest focused tool so you can use the same task as your starting point. Compare each labeled Before / After preview to see the intended change and the details worth protecting.
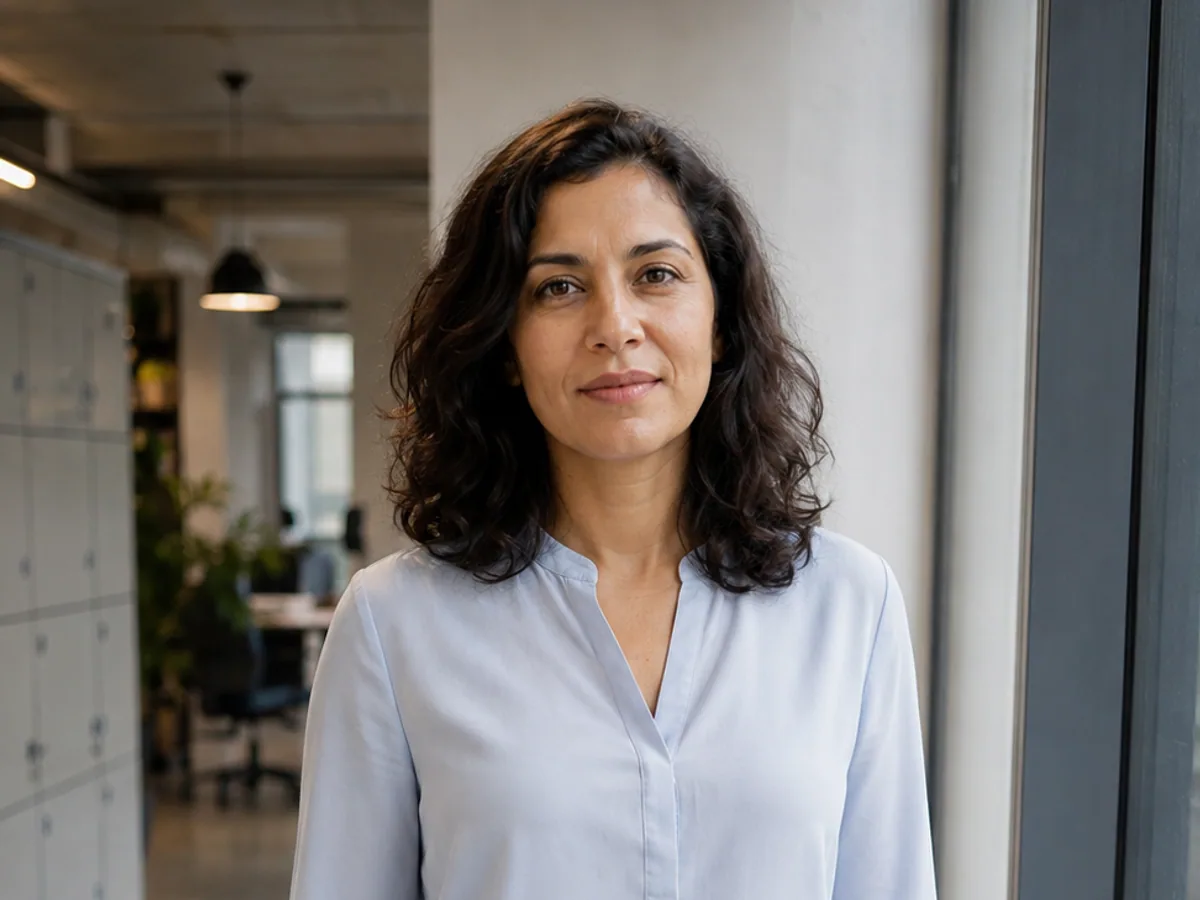
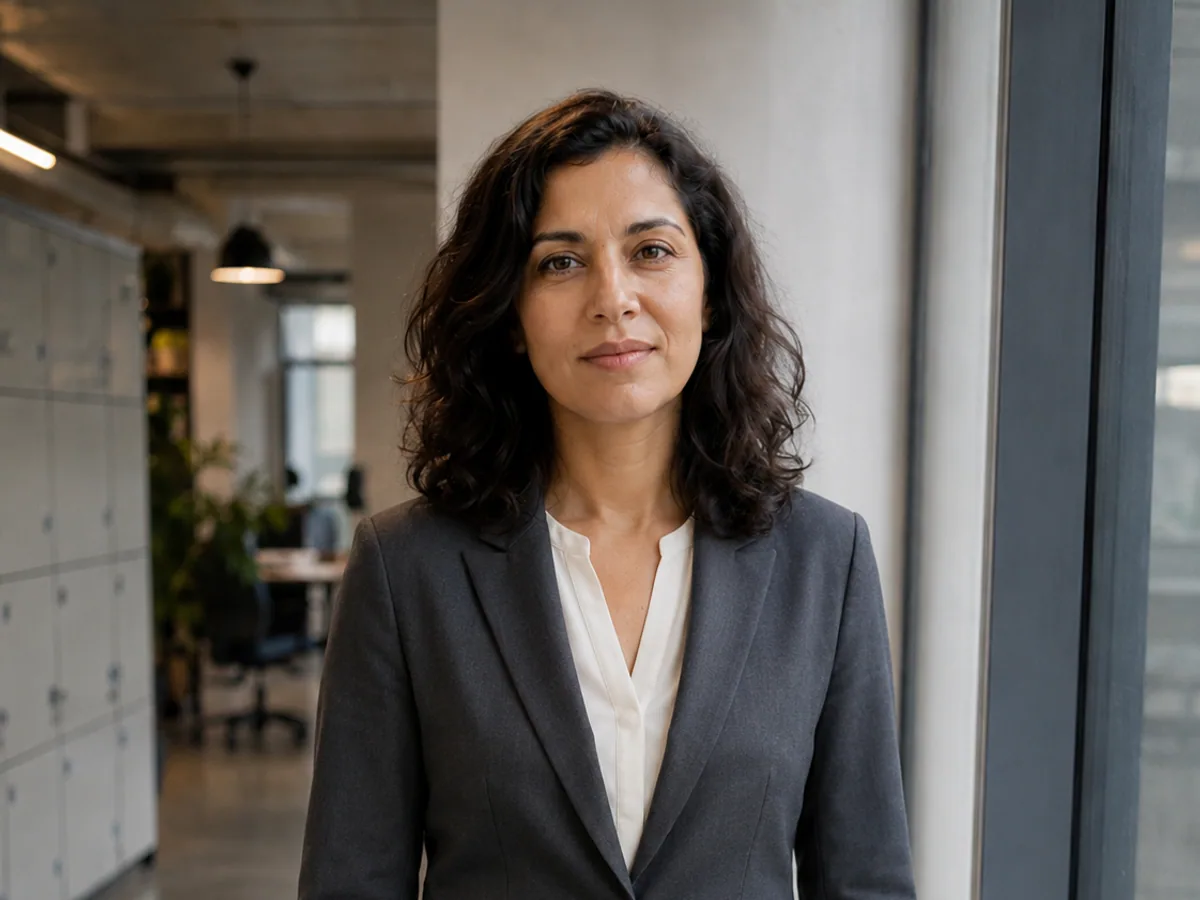
Clothes
Start a formal outfit edit while keeping the portrait intact.
Try this edit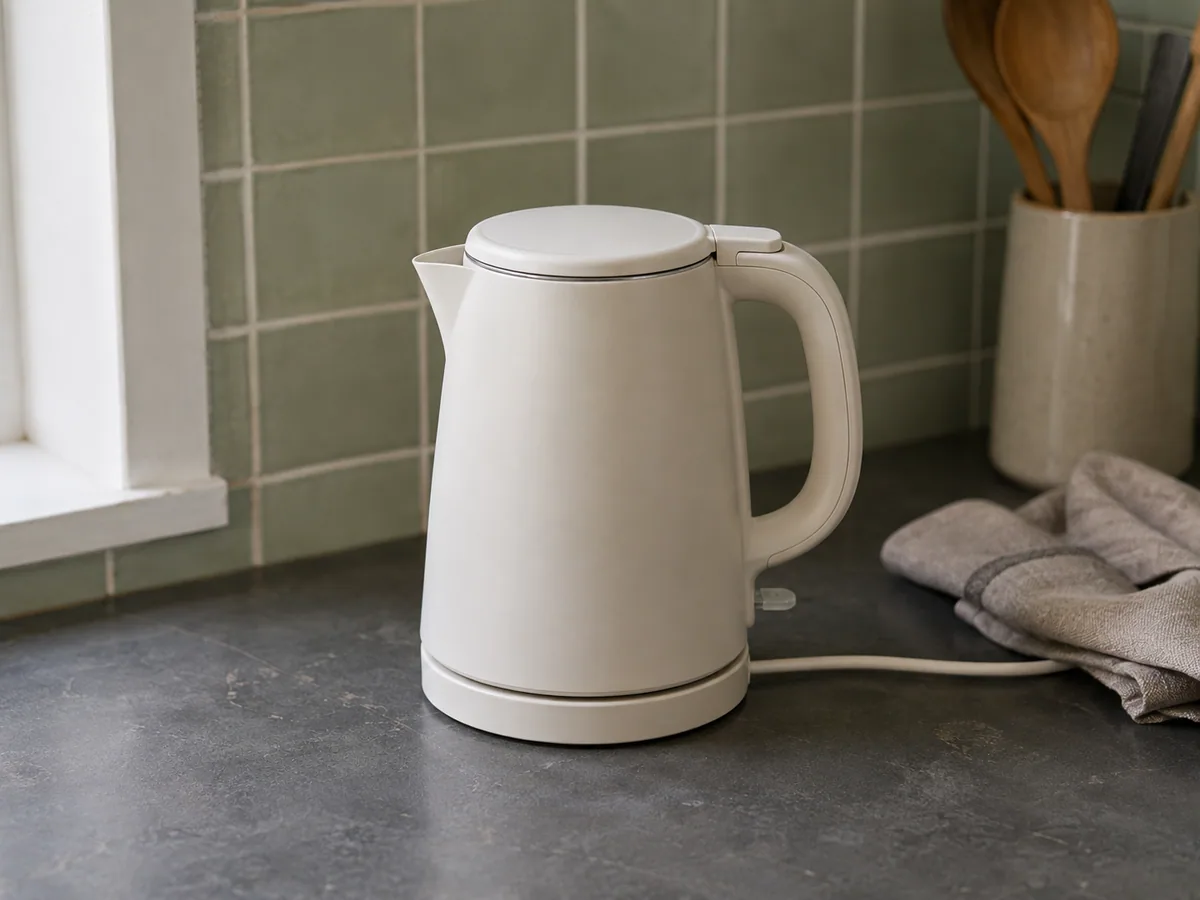
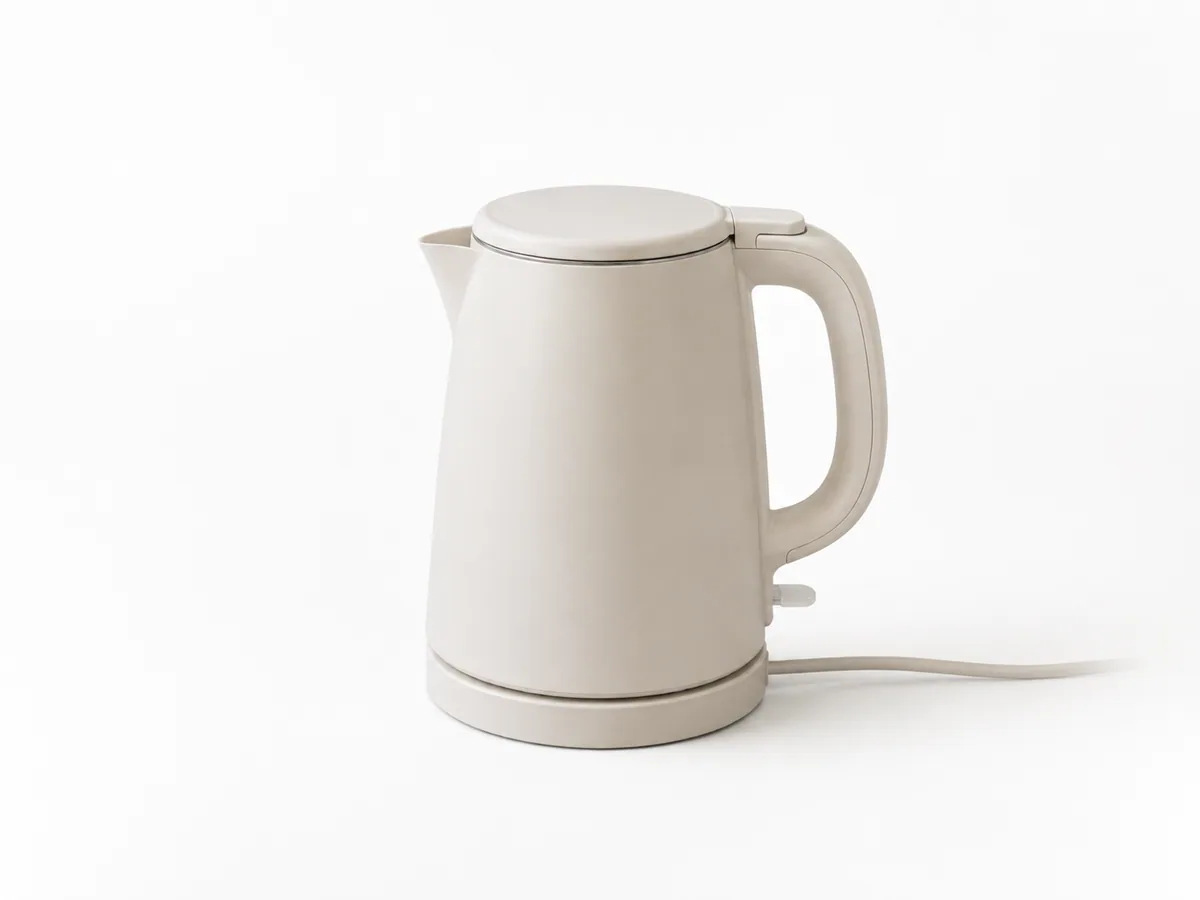
Background
Create a clean listing image with believable object edges.
Try this edit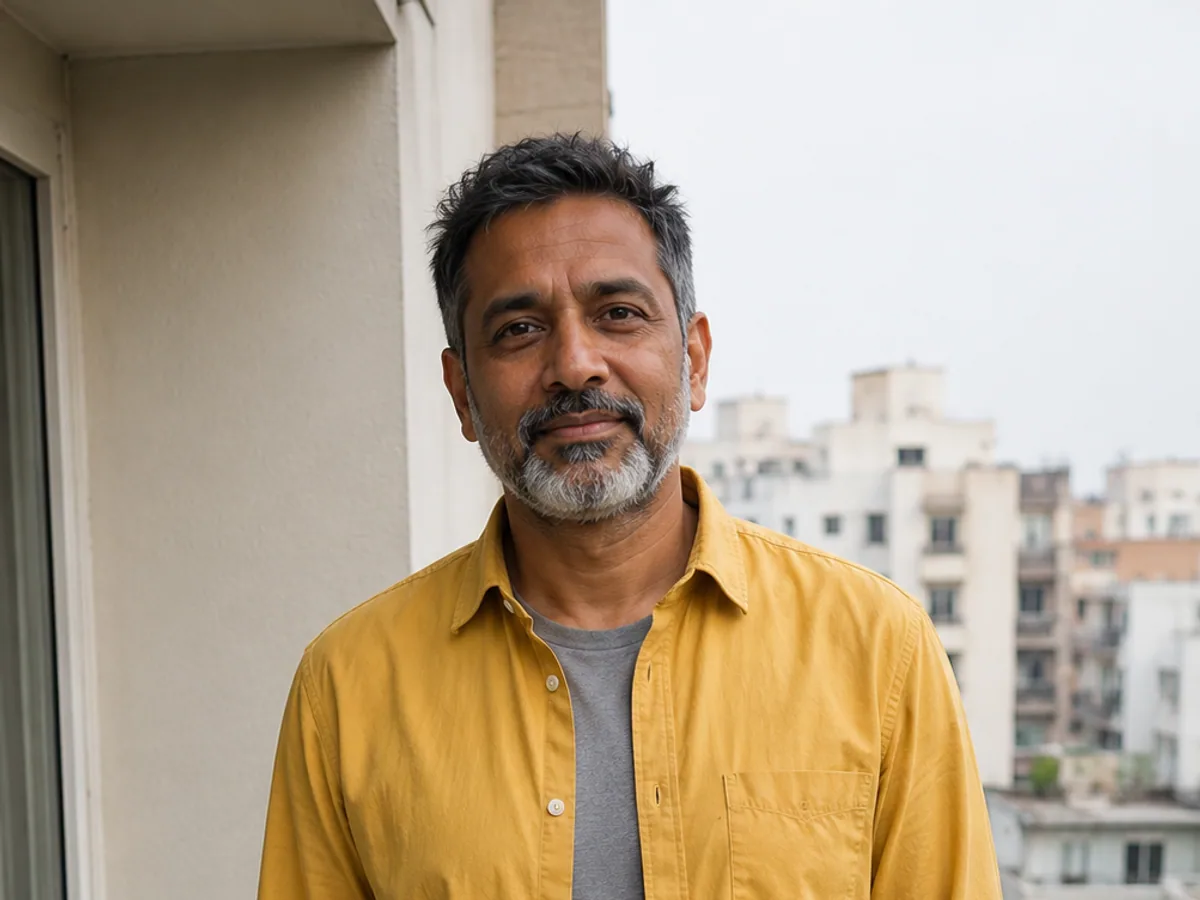
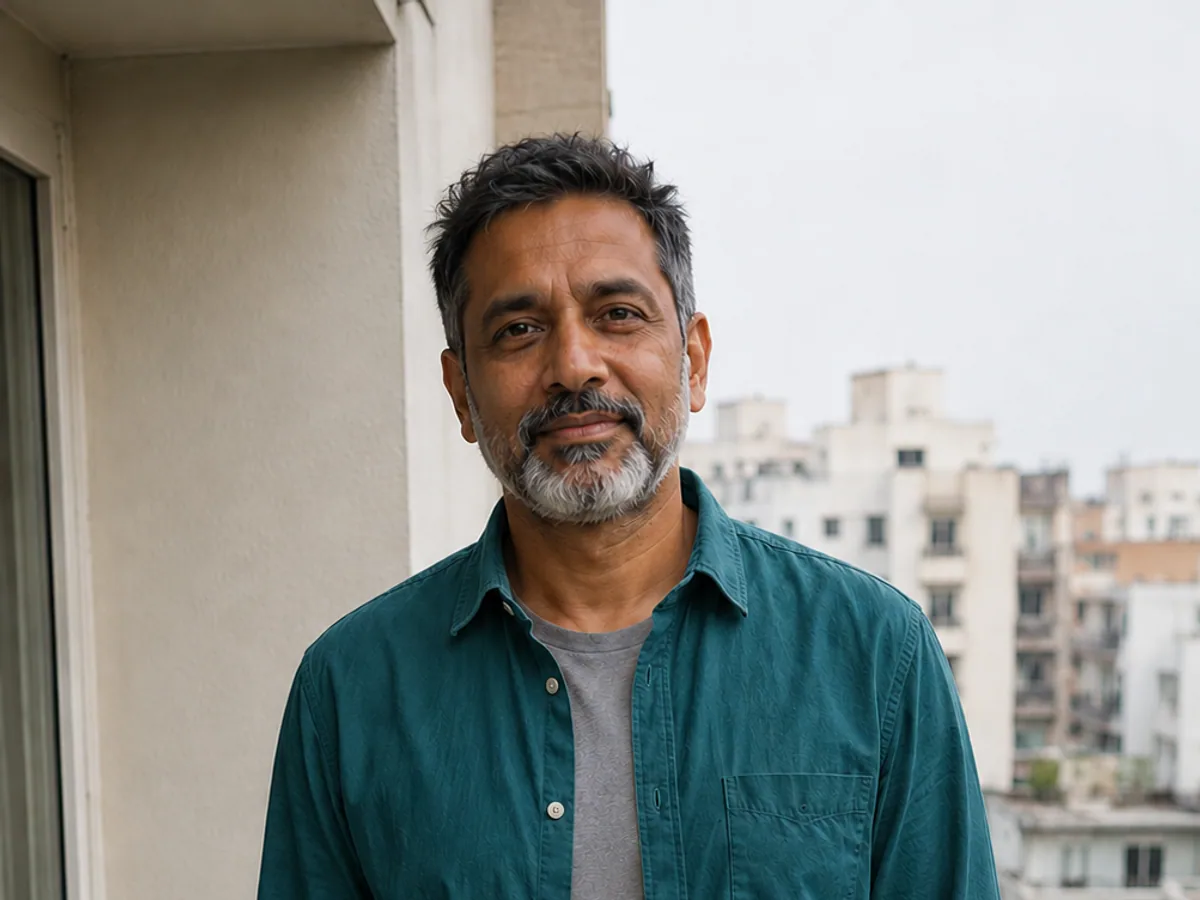
Color
Test a new color while protecting texture, folds, and light.
Try this edit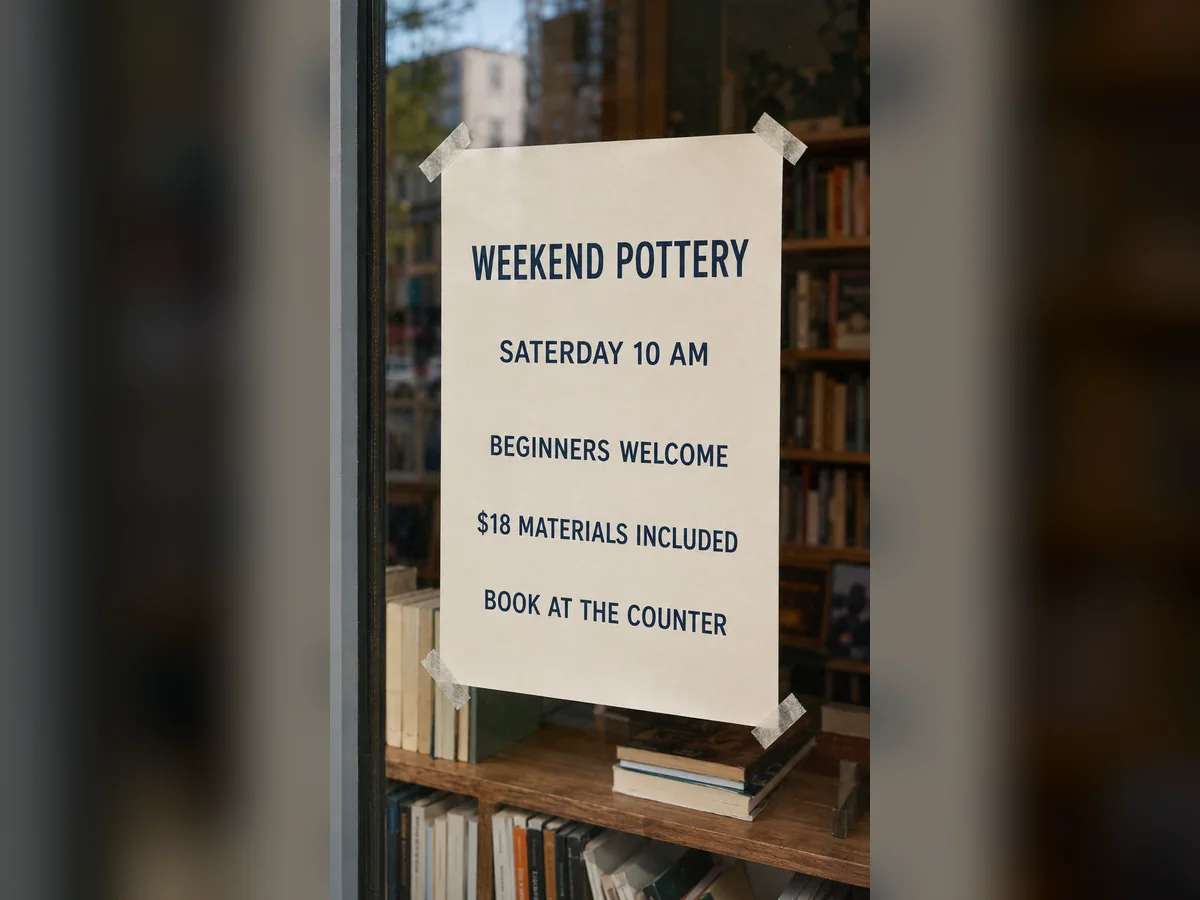
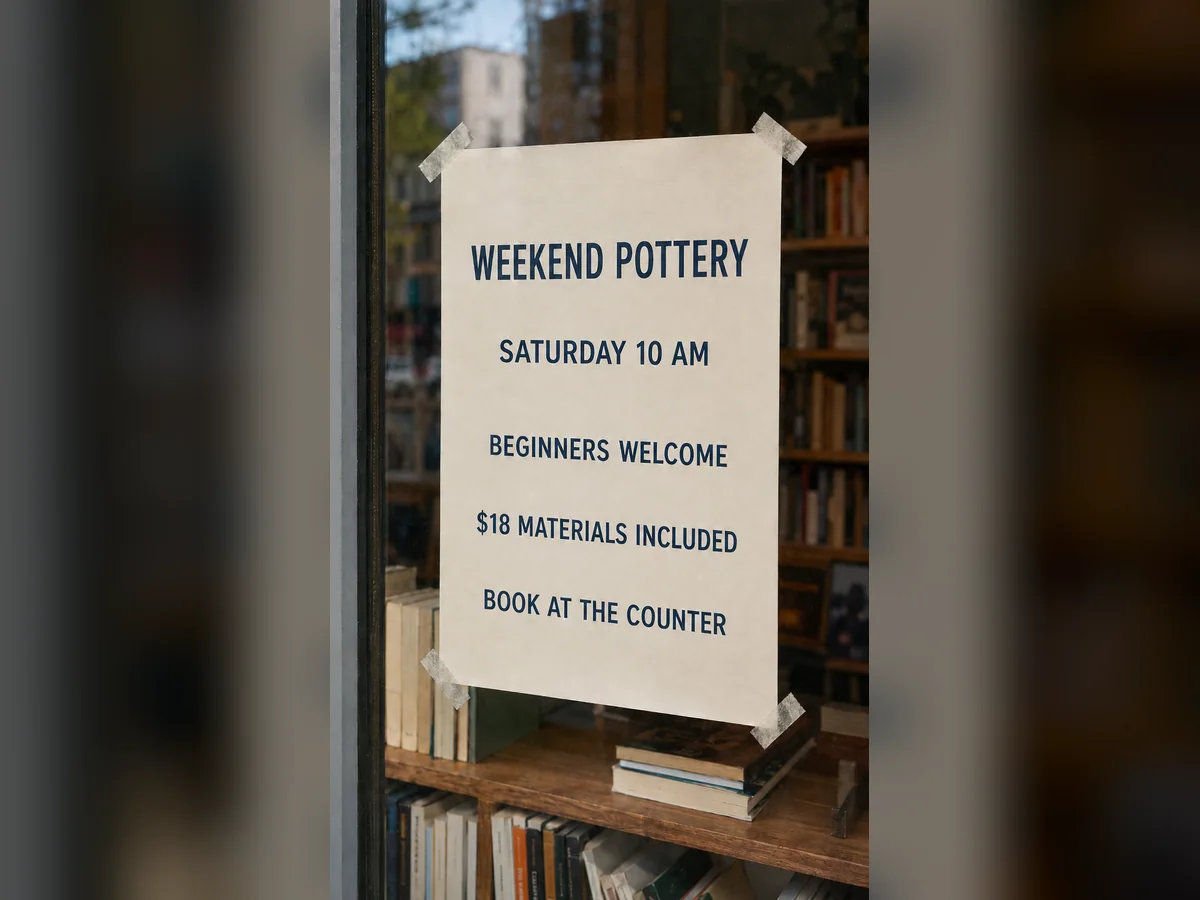
Text
Correct one word without rebuilding the entire design.
Try this edit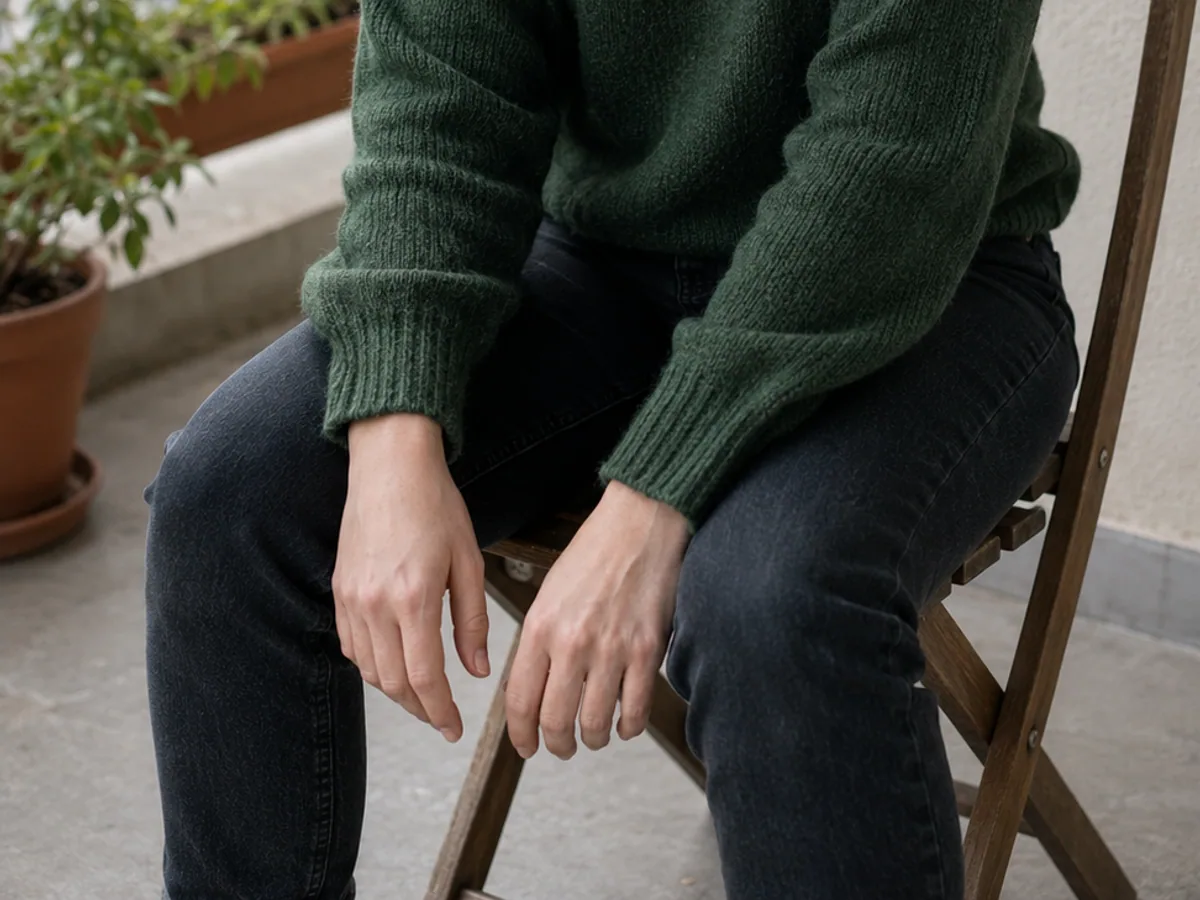
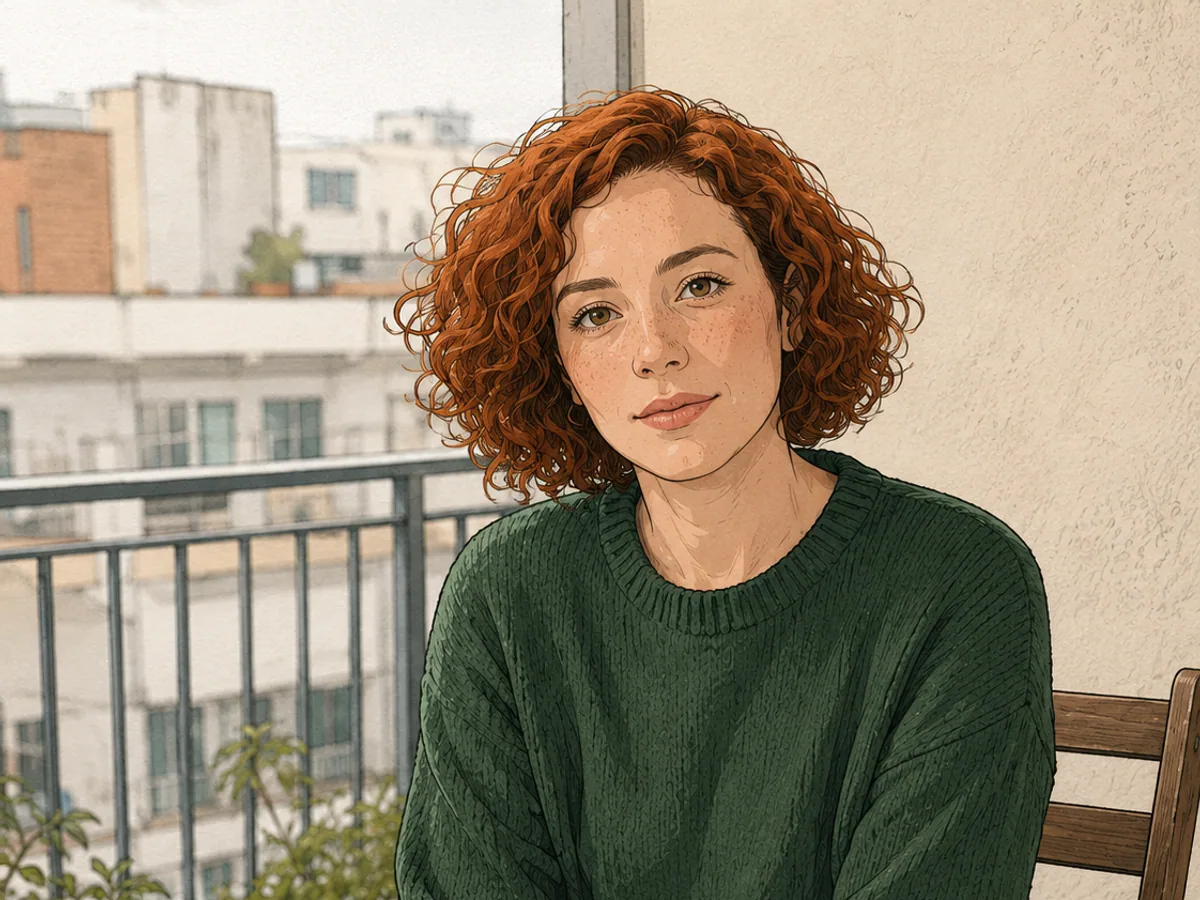
Style
Apply an anime treatment while keeping the composition clear.
Try this edit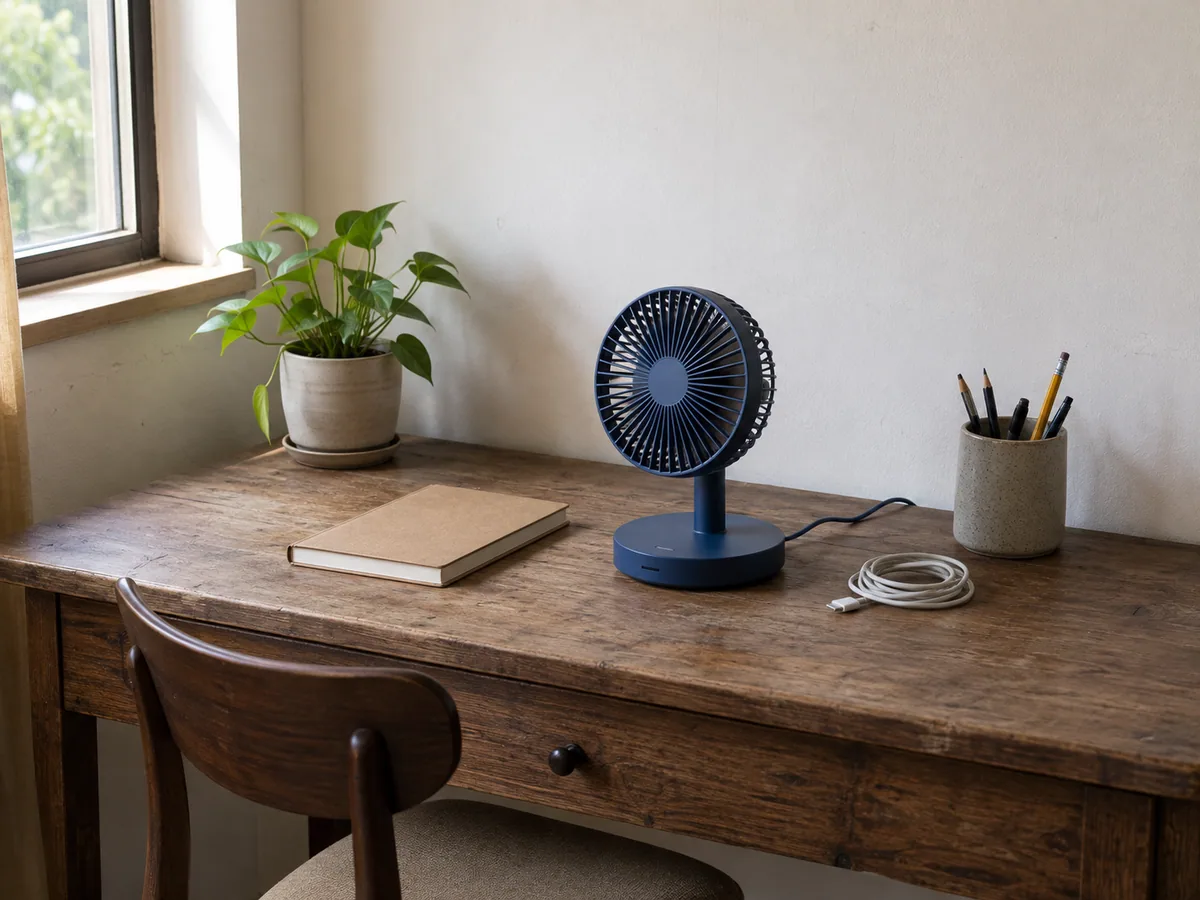
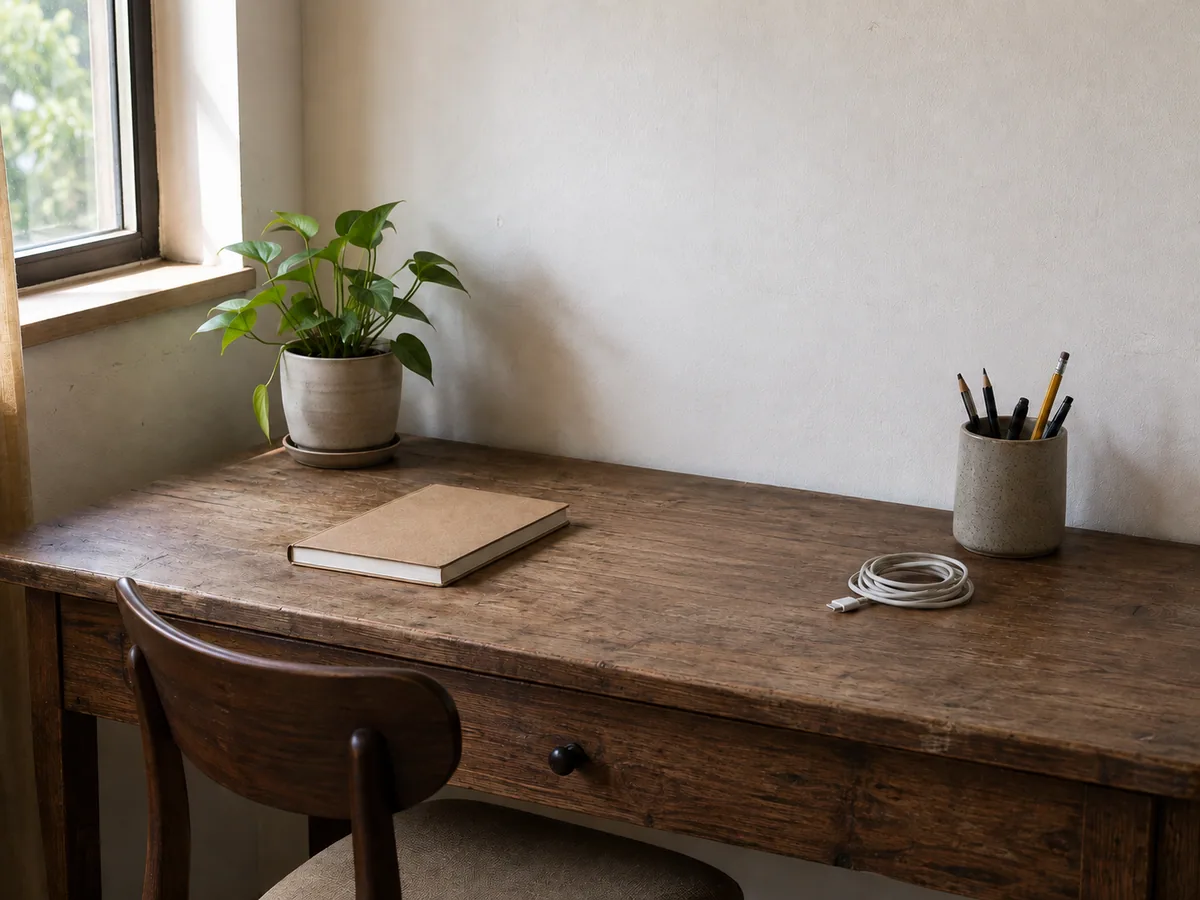
Custom Edit
Erase one distraction and reconstruct the hidden background.
Try this editFAQ
An AI image changer is an online editor for modifying an existing image with a natural-language instruction. You upload a source image, identify the part to change, describe the new result, and list details such as the face, pose, material, lighting, text, or background that should remain as close to the source as possible.
Upload a JPG, PNG, or WebP image, choose the closest task, and write one focused instruction. Name the target first, describe the replacement, and finish with the details to protect. For example: “Change only the beige jacket to dark blue. Keep the face, hands, pose, fabric texture, lighting, and background unchanged.”
The editor shows an eligible free trial when one is available for the selected task and model. Other models, resolutions, and editing modes use credits, and the exact cost is displayed before generation. You can inspect the editor, upload area, prompt controls, and model choices before deciding whether to continue.
Multi Fusion can combine up to five source and reference images when a task needs clothing, style, object, or composition guidance. A single focused edit is usually easier to review. If several unrelated areas must change, complete the most important change first, inspect the protected details, and then continue with a second pass.
The image editing workspace includes Nano Banana Pro, Nano Banana 2, GPT Image 2, Seedream 5.0 Pro, and Seedream 4.5. Their available resolutions, credit costs, and controls are shown in the editor. Compare models with the same source and prompt when you need to judge precision, text handling, reference use, or visual detail.
You can replace clothes or backgrounds, recolor a particular object, update short text, change the visual style, remove a distraction, clean a scene, adjust lighting, add an object, or describe another focused modification. The task links on the homepage take you to the most relevant tool instead of making every user start from the same blank editor.
You can instruct the editor to protect the face, pose, hands, background, logo, material, lighting, camera angle, or other important details, but generated edits are not pixel-locked. Compare the result with the source and check non-target areas after every generation. Smaller, well-defined requests are generally easier to verify.
The homepage editor accepts JPG, PNG, and WebP source images up to 24 MB. Portraits, product photos, fashion images, interiors, illustrations, and finished designs can all be used, although a clear subject, readable text, and visible editing boundaries usually make the requested change easier to inspect.
Only upload images that you have permission to use, especially when they include another person, private information, a protected character, or third-party artwork. The product does not claim ownership of your source image or generated result. Review the Privacy Policy for the current processing, storage, and service-provider details.
Commercial use depends on the rights attached to your source image, reference images, brands, people, and other protected material, as well as the current Terms of Service. You remain responsible for obtaining the necessary permission and checking the final result before using it in a product listing, campaign, or client project.
Change the part that is wrong. Keep the image that already works.
Upload an image, choose a focused task, and write one clear instruction. You can compare models and settings before anything generates.